
I’ve been working diligently on my bedside tables for two months now. After many, many more mistakes, and an equal number of fixes, it’s almost complete. After gluing up the drawers, fitting them, and attaching the top, I’ll be ready to finish. As I mentioned previously, the legs are splayed a couple of degrees. They’re splayed in both the with and depth dimensions and that means that very few things on this table are square. It adds to the challenge considerably – much more than I would have thought. Checking angles, fitting, adjusting, and refitting is the rule rather than the exception. It’s been tough going. I made a gluing mistake and broke a piece in half trying to fix it. There are dings and small gaps that need fixing. But of all my projects, I won’t be more proud of these tables when I’m done.
The bottom drawer rail is the most complex piece on this table. The tenons on each end are angled to fit into the mortise in the leg so that the piece is parallel with the table top. Behind these is another “tenon” that gets glued to the back of the front leg. It has mortises for the double tenon of the drawer divider. A bead is routed into the front and the back has a mortise to accept the middle drawer runner.

While waiting for a glue-up I made the table tops and cut bevels in them according to Garrett Hack’s plans. I set the tops aside and continued on with my project. After a couple weeks, when preparing to clean up the beveled surface made by the table saw, I discovered both the tops were bowed. I had stored them stacked one on top of the other and figured this was the cause. After storing them with more room to breathe, they returned to normal. However, I discovered something more serious on one of the tops – a crack. I made two new tops since they turned out a little smaller than I wanted, but unfortunately they don’t have the beautiful tight grain that the originals had.

The table saw had broken down and that gave me a chance to get more experience at the lathe. I needed a knob for each of the four drawers and turned to Phil Lowe’s video for instruction. The most difficult part of the knob for me, by far, was the dome. Several attempts ended with the skew chisel catching in the wood, and in a couple cases, complete destruction of the knob. I must have watched the end of the video 15 times to learn how he manipulated the chisel – changing the angle, rake, and twisting it in one smooth motion to create the dome. I’m happy with the results. If the table saw hadn’t broken down I would have waited to work on the knobs last and I know I wouldn’t have devoted enough time to do them as well as I did.

After the table saw was fixed I could return to the legs and cut the recesses for the inlaid feet. The inlays are detailed in a separate Fine Woodworking article by Hack. The recesses were finished with a chisel, and it was only after I had completed most of the legs that I realized that making the shoulders angled is critical to avoiding gaps where the inlay meets the legs at the corners. I paid the price for not carefully following instructions by having to redo the shoulders. For me, this was difficult work, and at the end of the day I was exhausted. The lesson of making a plan before going into the shop hasn’t fully sunk in with me yet. I get caught up in the excitement of opening the shop door and just starting to cut wood.


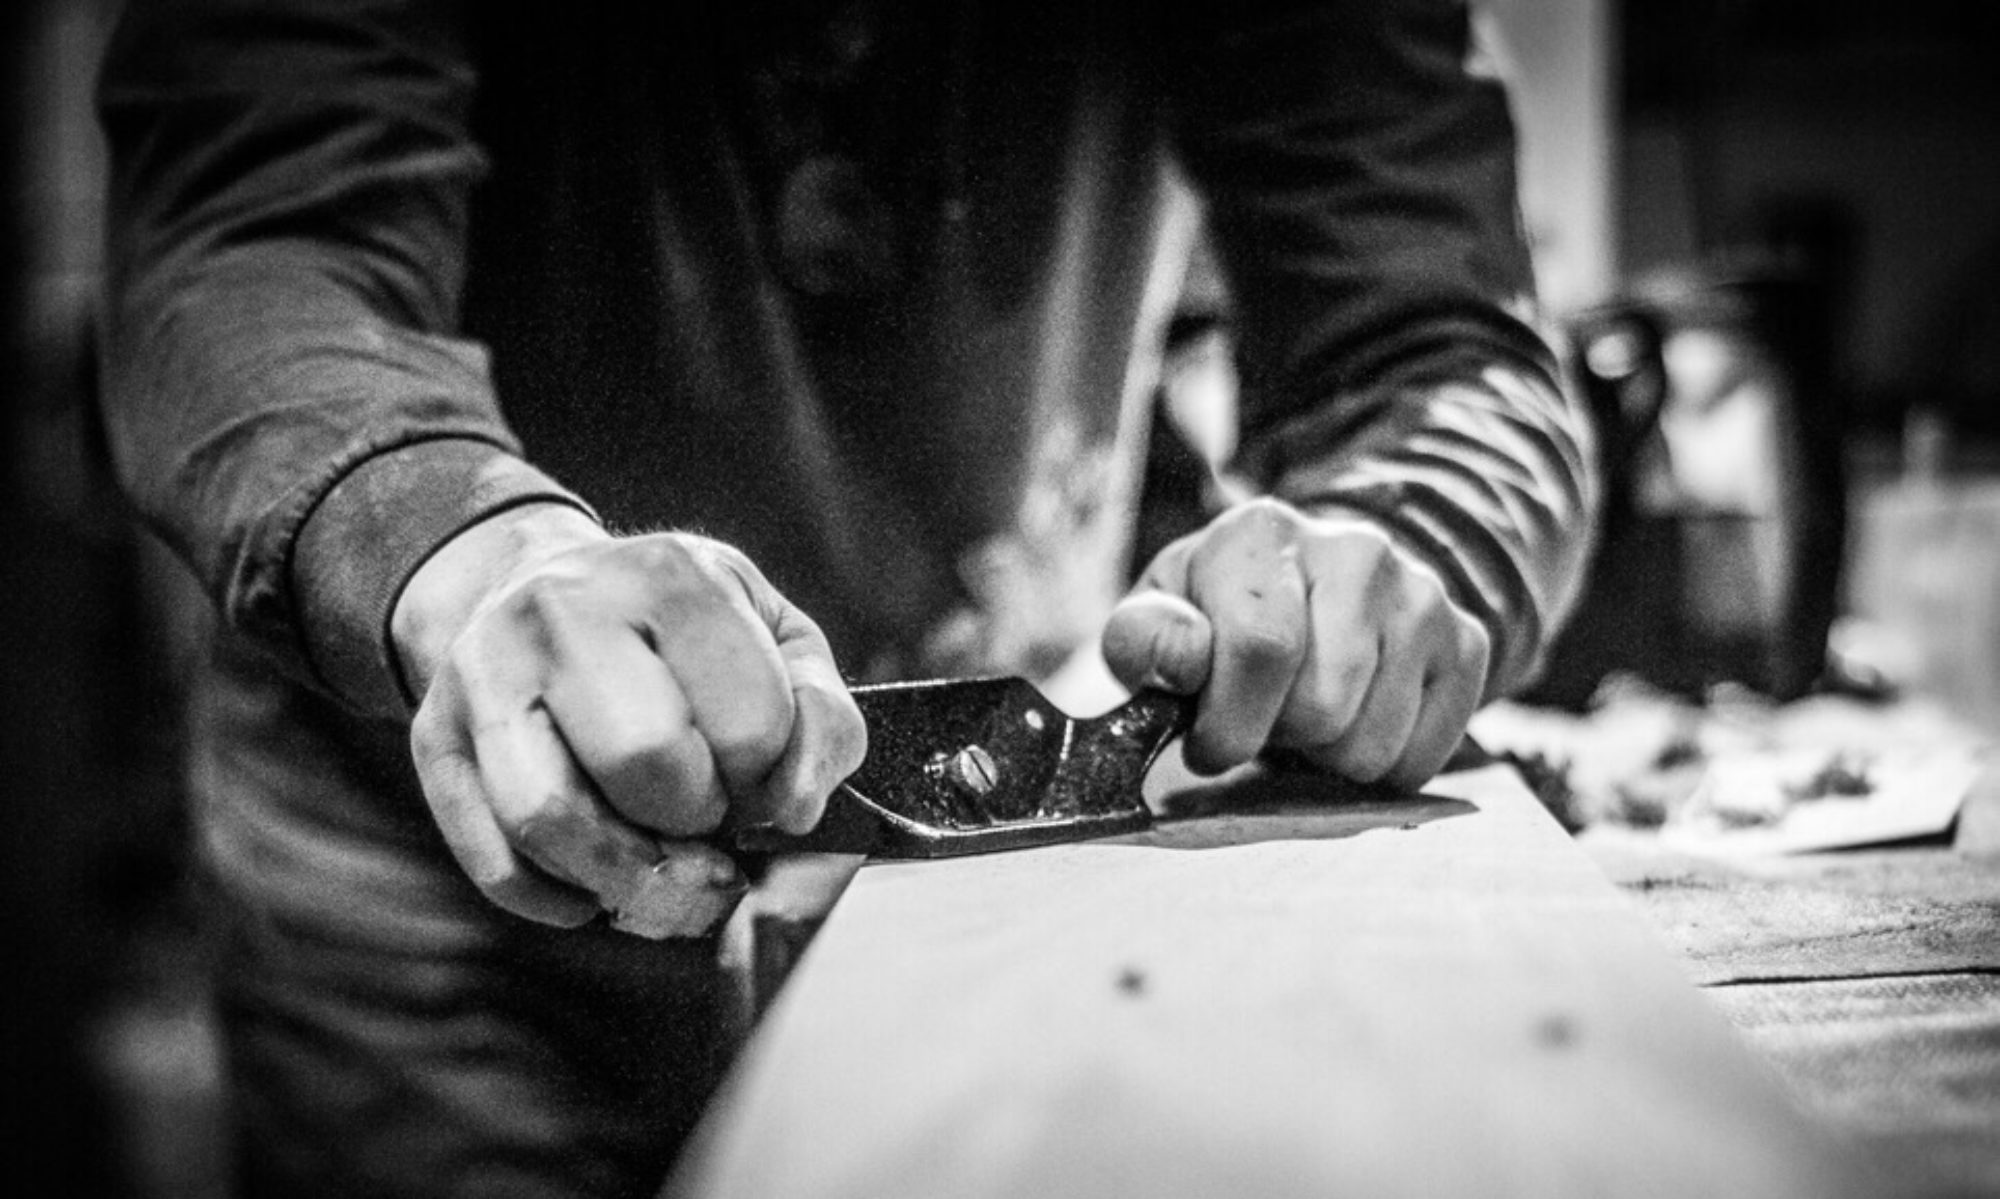
The top drawer rail is dovetailed into both the leg and the side apron for strength. Because the legs are splayed, the top drawer rail is going to be shorter than the bottom rail. Because accuracy with angles is difficult, the length of the top rail has to be measured to the gap left after the rest of the base has been glued together. After the piece is cut to length and the dovetails created, the recesses for the dovetails are marked in the leg and the side aprons. Creating these recesses isn’t so straightforward when the table is mostly assembled. After removing much more material than I was supposed to on the first table with a chisel, I resorted to a router on the second table to remove most of the waste. Then I cleaned up the recesses with a chisel. This process went much smoother and more quickly and saved me from more headaches.

Two months of devoted effort to my most challenging project yet has been hard, but rewarding. So many of my skills have developed along the way. Chiseling, sawing, and sharpening have improved. And all of the less tangible skills related to process, planning, and preparing have made me a more confident and accurate woodworker. But it’s still true that the one skill I’m most lacking in is patience. They say “woodworking minus patience equals firewood”. They’re right.