Bedside tables

I’ve been working diligently on my bedside tables for two months now. After many, many more mistakes, and an equal number of fixes, it’s almost complete. After gluing up the drawers, fitting them, and attaching the top, I’ll be ready to finish. As I mentioned previously, the legs are splayed a couple of degrees. They’re splayed in both the with and depth dimensions and that means that very few things on this table are square. It adds to the challenge considerably – much more than I would have thought. Checking angles, fitting, adjusting, and refitting is the rule rather than the exception. It’s been tough going. I made a gluing mistake and broke a piece in half trying to fix it. There are dings and small gaps that need fixing. But of all my projects, I won’t be more proud of these tables when I’m done.

The bottom drawer rail is the most complex piece on this table. The tenons on each end are angled to fit into the mortise in the leg so that the piece is parallel with the table top. Behind these is another “tenon” that gets glued to the back of the front leg. It has mortises for the double tenon of the drawer divider. A bead is routed into the front and the back has a mortise to accept the middle drawer runner.

Bottom drawer rail and drawer divider.

While waiting for a glue-up I made the table tops and cut bevels in them according to Garrett Hack’s plans. I set the tops aside and continued on with my project. After a couple weeks, when preparing to clean up the beveled surface made by the table saw, I discovered both the tops were bowed. I had stored them stacked one on top of the other and figured this was the cause. After storing them with more room to breathe, they returned to normal. However, I discovered something more serious on one of the tops – a crack. I made two new tops since they turned out a little smaller than I wanted, but unfortunately they don’t have the beautiful tight grain that the originals had.

Cracked top.

The table saw had broken down and that gave me a chance to get more experience at the lathe. I needed a knob for each of the four drawers and turned to Phil Lowe’s video for instruction. The most difficult part of the knob for me, by far, was the dome. Several attempts ended with the skew chisel catching in the wood, and in a couple cases, complete destruction of the knob. I must have watched the end of the video 15 times to learn how he manipulated the chisel – changing the angle, rake, and twisting it in one smooth motion to create the dome. I’m happy with the results. If the table saw hadn’t broken down I would have waited to work on the knobs last and I know I wouldn’t have devoted enough time to do them as well as I did.

A practice piece and a couple good ones.

After the table saw was fixed I could return to the legs and cut the recesses for the inlaid feet. The inlays are detailed in a separate Fine Woodworking article by Hack. The recesses were finished with a chisel, and it was only after I had completed most of the legs that I realized that making the shoulders angled is critical to avoiding gaps where the inlay meets the legs at the corners. I paid the price for not carefully following instructions by having to redo the shoulders. For me, this was difficult work, and at the end of the day I was exhausted. The lesson of making a plan before going into the shop hasn’t fully sunk in with me yet. I get caught up in the excitement of opening the shop door and just starting to cut wood.

Gluing the inlay pieces on one at a time. Eventually I realized that two at a time is faster.
I wish those ebony shavings were chocolate shavings.

The top drawer rail is dovetailed into both the leg and the side apron for strength. Because the legs are splayed, the top drawer rail is going to be shorter than the bottom rail. Because accuracy with angles is difficult, the length of the top rail has to be measured to the gap left after the rest of the base has been glued together. After the piece is cut to length and the dovetails created, the recesses for the dovetails are marked in the leg and the side aprons. Creating these recesses isn’t so straightforward when the table is mostly assembled. After removing much more material than I was supposed to on the first table with a chisel, I resorted to a router on the second table to remove most of the waste. Then I cleaned up the recesses with a chisel. This process went much smoother and more quickly and saved me from more headaches.

Marking the homes for the dovetails. What do you call those?

Two months of devoted effort to my most challenging project yet has been hard, but rewarding. So many of my skills have developed along the way. Chiseling, sawing, and sharpening have improved. And all of the less tangible skills related to process, planning, and preparing have made me a more confident and accurate woodworker. But it’s still true that the one skill I’m most lacking in is patience. They say “woodworking minus patience equals firewood”. They’re right.
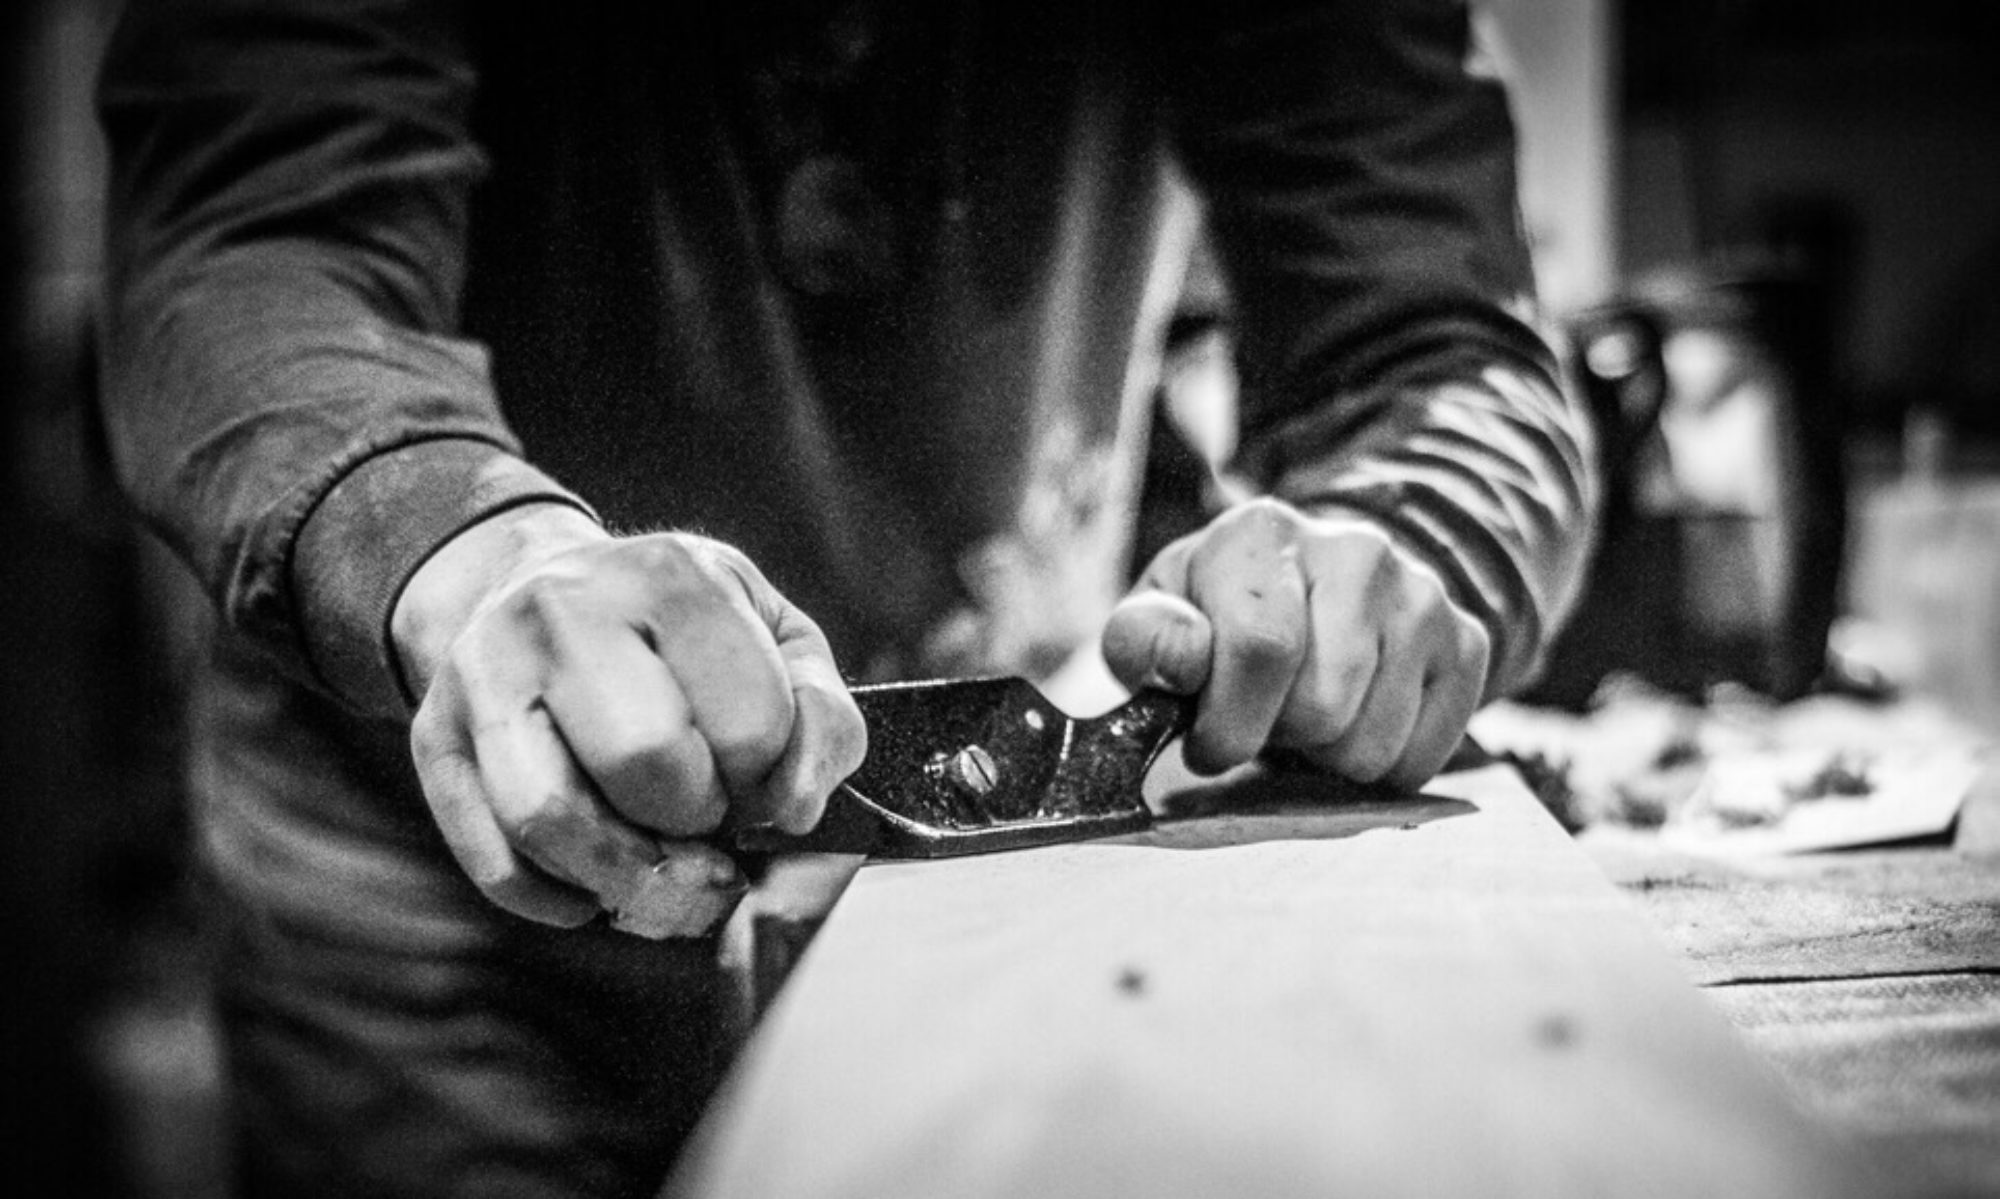
Days without an accident: 365

If you’re just going through the motions, you’re doing it wrong.

You can find lots of pictures of fingers that didn’t get cut off by a SawStop table saw. It’s really gratifying to see what could have been a life-altering event amount to little more than a scratch. This is one of the other pictures, and it’s the result of an unfortunate encounter with a jointer. Now I’ll tell you why it’s important to be 100% focused and alert when using woodworking machinery.

It was one year ago to the day that I was in the midst of making Gary Ragowski’s arts and crafts bed. Happy with my progress thus far, I was surface jointing poplar slats on The Bodgery’s 6 inch Jet jointer. On boards with a bow at one end, I remove the bow by running just that part of the board over the blade until the bow is gone. There’s no sense taking material off of the good part of the board when just one end needs attention. I had twelve slats to mill and I was in a production mindset. I was quickly passing the bow end of the board over the cutterhead with the my fingers gripping the edges of the board. This is not the right way to use the jointer. The only reason this was even possible is because the blade guard was broken. There was no spring tension to make the guard return to its place over the blade. If the guard was working correctly, I wouldn’t have held the board the way I did.

I felt the blades vibrate my finger as they passed through it. The feeling reminds me of the vibration you feel when you get shocked by an electrical outlet due to the frequency of the alternating current. I instinctively clenched my fist and pressed the end of my finger against my palm to stop any bleeding. After exclaiming some four letter words, I quickly looked at my finger to see how much was gone. It wasn’t painful, but I felt intense disappointment when I realized that enough was missing that it might not grow back. No one was in the shop to hear me swear.

I pulled the dust out of the jointer’s cabinet with my good hand hoping to find the end of my finger in case it was large enough that it needed to be reattached. In my state of mild shock I didn’t realize the pointlessness of my errand. The cutterhead on the jointer has three blades and it spins at 6000 RPM. A table saw will cut off just one piece of your finger, but a jointer won’t leave anything to reattach. The blades made a hundred little pieces, not one. There was no blood in the dust.

I looked at the end of my finger again quickly to reassess. “It’s bad,” I thought to myself. Would it grow back? I wasn’t sure. I went into the bathroom and got some paper towels to press my finger into. I called urgent care to see if I needed to go the emergency room. After navigating the menus, waiting on hold, and verifying my mother’s maiden name, I told the nurse that I cut off the tip of my finger. What did I cut it on? A woodworking tool. How much did I cut off? About a centimeter (it was actually less than that). I was relieved to know that I didn’t need an ambulance. As I held the finger pressed into my palm, I could feel that the end was missing and noted how unexpected that was, and that I still felt no pain.

After waiting in urgent care, it had been over two hours since the accident. Patients are seen in the order of need, and as I sat in the chair with a paper towel clenched in my hand, I noticed that elderly people, most of them with coughs, were seen before me. The nurse practitioner looked at the wound, put a bandage on it, and sent me for an x-ray to see if the blade had hit the bone. It just missed, but she prescribed antibiotics just in case. As I was waiting for the results, I held my hand in the air like I had a question to try to stop the bleeding. She said that was a good idea. She prepared to put a rubber sleeve over the finger to make sure the bleeding stopped, but noticed it had already started to clot. She replaced the bandage with one that wouldn’t stick to the wound and taped a piece of metal bent in a U shape to protect the end of my finger. She gave me instructions how how to take care of it and asked if I had any questions. I had one: would it grow back? Yes, she said confidently, though it might not be exactly the same shape as it was before. That bandage, and all of the extra non-stick bandages she gave me, stuck to the wound and were very painful to remove.

I went back to the shop and fixed the jointer’s blade guard. Then I went home, where I learned that stretching my arm out to reach caused extremely sharp and intense pain in my finger. I jumped up and down while spinning in a circle with my eyes closed, yelling “Owwwwww”. The tip of my finger grew back but there’s some padding missing on the end where there once was, though you might not know to look at it. I can feel it as I type this, and if I tap it on a table it sounds more like a wooden finger than one made of flesh.

In the wood shop these days, I still catch myself in moments where I’m not completely focused and a spinning blade is an inch or two from my fingers. The difference now is that I’m reminded of my accident and I get a visceral wake up call. I consciously take a moment to reprimand myself in the hope that I’ll remain vigilant next time. I never want my tally of days without an accident to go to zero again. The consequences could be much more severe.

Understanding Wood Finishing

I’ve always avoided learning more about finishing because it seems so complex. There are so many types of finish to apply and so many ways to apply them. When I was new to finishing and heard about oils, varnishes, lacquers, waxes, dyes, stains, solvents, and thinners, I pictured the master finisher as an alchemist, mixing mysterious substances in beakers in his candlelit lab. One look at the cover of Understanding Wood Finishing is enough to intimidate you. He’s mixing potions! Applying a finish with professional results seemed to require a mastery of some mystic art, with the artisan reciting an incantation as he brushed the concoction onto the wood. This is an elaborate process right? What exactly is a varnish, anyway?

Because of this, I’ve just stuck with shellac. I’ve learned how to apply it well enough, and it’s natural so I feel good about not harming the environment with harsh chemicals. But reading this excellent book has completely changed my thinking on finishing. The concepts aren’t all that complex, and now that I have a basic understanding of finishing, I’m actually excited to try some new finishes on my projects. Flexner has lessened my environmental concerns by explaining that the laws aimed to curb VOCs are meant for production shops. The volume contributed by hobbyist woodworkers is minuscule in comparison to industry.

Flexner starts the book by teaching you how to prepare the wood surface and use the tools to apply a finish. Next he gets into staining wood and explains the difference between pigments and dyes. The book is thorough. Want to bleach your wood? Ebonize it? He’s got you covered. He then addresses wax, oil finishes, and filling the pores. Next time I have a project that I want to fill the pores on, I’m going to use a filler that’s slightly darker than the wood to create the appearance of greater depth.

Did you know shellac is a resin secreted by an insect? It’s scraped from the branches of trees, melted down and formed into thin sheets from which the flakes are created. If that didn’t blow your mind, try this: it takes about 1.5 million lac bugs to make one pound of shellac.

These topics get a little complex, but after reading the chapters on lacquers, varnishes, and water-based finishes, I’m eager to try some varnishes. They’re the most protective and durable, and provide a good resistance to water vapor exchange in the wood. It’s here that I learned that oil-based polyurethane is more durable and heat resistant than water-based. Interesting factoids are peppered throughout the book, like this one: all film finishes with the exception of shellac are essentially plastic.

It’s true that there’s a lot to know about finishing. But unless you’re planning on making a career of it, you can get by with just a moderate amount of finishing knowledge. Are you running a production cabinet shop? If not, you don’t need to mess with two-part finishes. Don’t have a spray gun? Not into french polish? You can safely skip that stuff for now. I’m not going to be doing much if any staining, so I don’t need to retain any of that stuff, but it sure was interesting reading about it. I was apprehensive about finishing in the beginning, but it turns out that I find it one of the most fascinating woodworking subjects. Not to mention useful. This is one of the few woodworking books I know I’ll keep coming back to.

Bedside tables

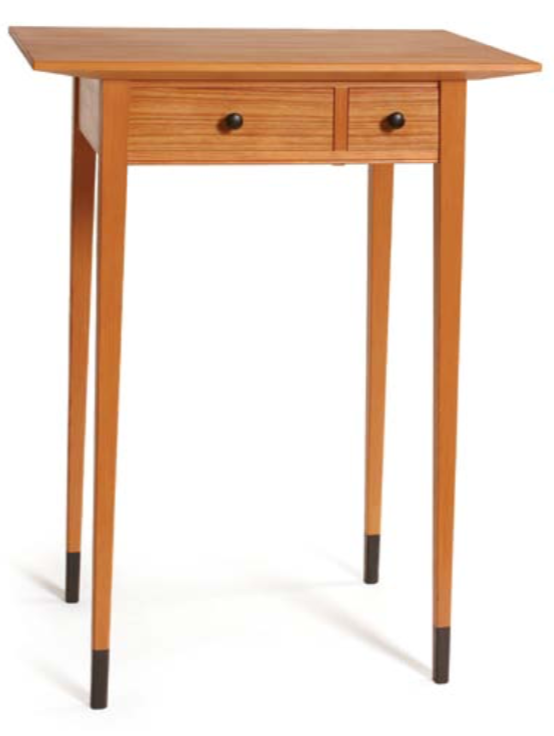
When I choose the next piece of furniture to make, it needs to provide a new challenge. This ensures I’ll never get bored, but it’s also a strategy for mastering craft of furniture making more quickly. Having started only recently and in the middle of my life, I feel the pressure of having a long way to go and a limited amount of time to get there. Some people might think that continually raising the bar would be daunting. For me it’s motivational: how cool would it be if I actually pull this thing off? I decided on Garret Hack’s bedside table from Fine Woodworking #253.

Hack’s table from Fine Woodworking #253

Garrett Hack’s bedside tables are unconventional and didn’t appeal to me at first. Typical bedside tables provide plenty of storage by being boxy. Hack’s elegant tables have long legs and two small drawers. They don’t have much storage, but they sure are beautiful. A search of Fine Woodworking turned up another table by Micheal Cullen of the more typical form – a case with a drawer and shelves. I went back and forth between the two but decided on Hack’s table because it’s significantly more challenging. While I would have enjoyed making Cullen’s table out of walnut with its housed mortise and tenons, Hack’s provides more lessons. The article even says right under the title that it will “challenge your skills”. I didn’t realize how true this would be.

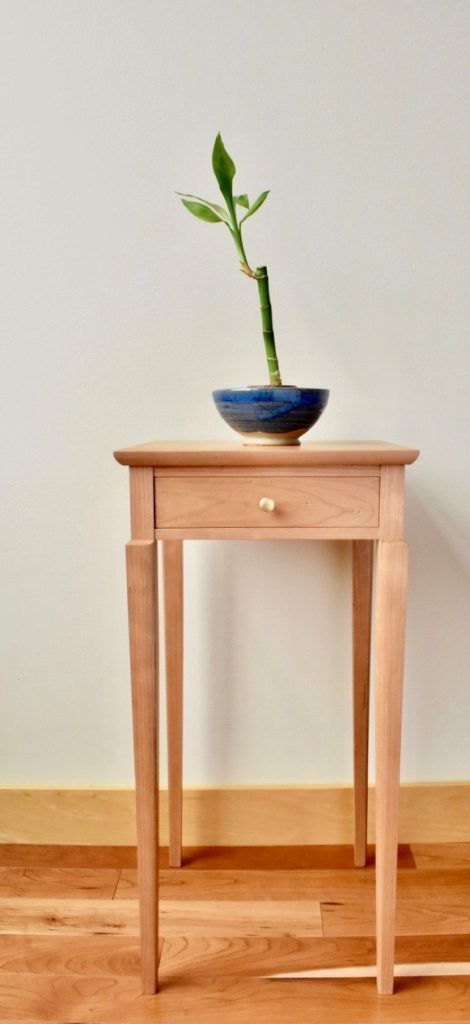
Table from a single board in cherry.

The first challenge of this table is that there are no plans available to purchase. As the builder, you have to make do with what’s in the article, which includes an exploded view, a front and side view, and some cross-section-type views. Even with these detailed instructions, the readers are left to figure out some things on their own. It doesn’t show you how to make the drawers – it assumes you already know how. Having taken Michael Pekovich’s Table From a Single Board workshop at the Connecticut Valley School of Woodworking, I don’t feel completely lost. There I built a similar table with the sides tenoned into mortises in the legs, tenoned bottom drawer rail, and a dovetailed top drawer rail.

Even with full-sized plans the table offers challenges, the foremost of which are the angles. The legs are splayed at 92.5 degrees and this means angled tenons for the drawer rails. Not only are they more difficult to make, but more difficult to keep track of. I thoughtlessly cut one of the tenons on the bottom drawer rail angled in the wrong direction. If I had marked both sides of the rail before cutting the tenons, I would have been able to quickly inspect them and discover the error. I’m making two tables, and unfortunately I did this on both of them. My solution was to glue a patch onto the tenon and cut it so that it was angled in the correct direction. The lesson here is to fully mark out the piece before cutting. It allows you to see the whole picture.

In a future post I’ll cover more aspects of the table including inlaid feet and drawers with angled fronts.

Makerspace

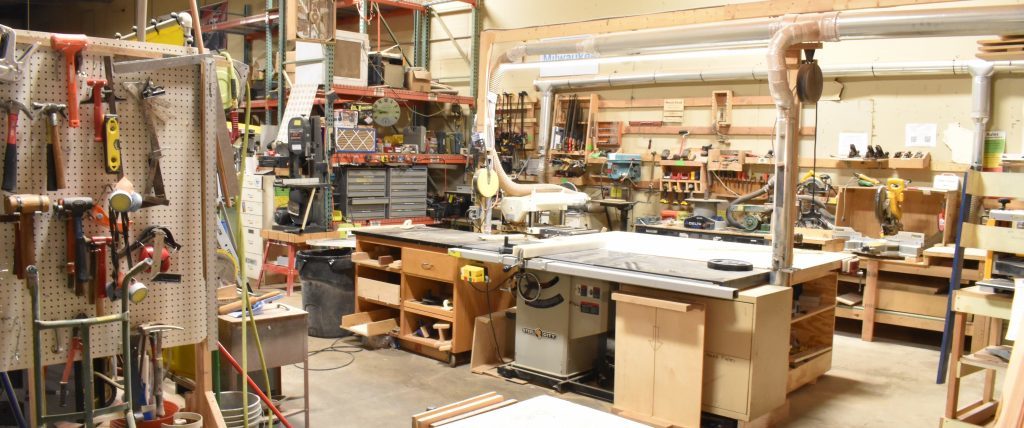
To make furniture, you need a workshop. I watch online videos in the “Workshop tour” genre intently, enviously. It’s like the feeling of inspiration you get watching the those home makeover shows, but with the nerd factor turned up to 11. As an aspiring furniture maker, I plan of having a kickass workshop someday, but until that day I’m making good use of a makerspace. The Bodgery‘s wood shop is the best around. It’s where I got started in woodworking thanks to the help of some very kind and generous members.

What’s a makerspace?

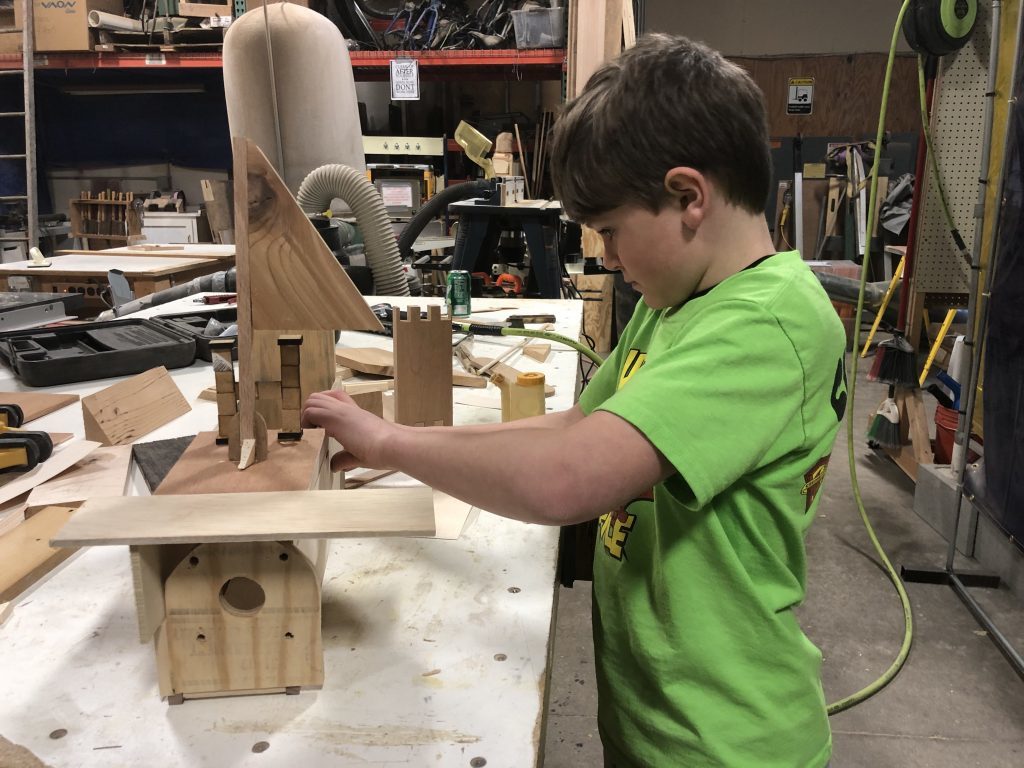
Kids love these places

Way back in 2017, I searched the web for “community wood shop” and I found not one, but two makerspaces in town. Until then, I didn’t know what a makerspace was. A propane tank explosion at the nearest one prevented me from joining, and as fate would have it, I ended up at the one with the better wood shop. Makerspaces come in different shapes and sizes, but at its core a makerspace is a community workshop. You pay a monthly fee and have access to all the tools and machines, provided you’ve had the proper training on them. Now I’m one of the people giving lessons on how to use the machines at “The Bodge”. Except the lathe. I need more experience with that one.

The Bodgery has about 150 members and has been growing steadily. Some die-hards drive an hour or more to get there. All cleanup, maintenance, and governance is done by volunteers and we decide as a community which tools to purchase next. Many of the machines are donated by members, including the bandsaw, router table, lathe, laser cutter, and countless hand tools. I purchased a Jet 22-44 drum sander and I’m loaning it to the group until I find my own space.

The future of woodworking

Woodworking is dying as a hobby. Woodworking is making a comeback. I’ve heard both said. People don’t want to make things with their hands anymore, the doomsayers tell you. They’d rather do it with a keyboard, stylus, direct brain-computer interface. Shop class is being eliminated in high schools. Wait!, say the optimists. There’s a shortage of builders and shop class is back. The internet allows anyone to learn how to do anything, woodworking included. I don’t know what the truth is, but today makerspaces allow the curious to try woodworking (among other things) who otherwise wouldn’t have the chance. And the number of makerspaces is growing. The Reddit woodworking channel has 958,000 readers. That’s encouraging.

Making a fuss

My makerspace has everything I need, so why would I want my own workshop? Makerspaces have many benefits. They’re a great value and offer many ways to make and learn. But there are challenges. Nothing is guaranteed to be where it was when you were there last. Things move, get broken, disappear, and wear out pretty reliably. Is the table saw blade at 90 degrees? What about that bandsaw table? You better check. Every time. I have projects that ended up just a little bit smaller than they were supposed to be because of that time I wasn’t vigilant.

Many sufferers of TAS (Tool Acquisition Syndrome) know that you don’t need to have a workshop to be at risk. My storage space is a growing collection of planes, chisels, wood, hardware, sharpening stones, jigs, glue, finishing materials, saws, sandpaper, and drill bits, all organized for maximum space efficiency. In a sense, I’ve already started building my own workshop. The Bodgery is moving to a bigger space soon, and I’ll have my own studio there where my storage will grow by a factor of 20 or more, but eventually I’ll outgrow that, too.

Making the most of it

To say The Bodgery has everything I need isn’t quite true. My dream workshop has a modern 17 inch bandsaw and a 12 inch jointer with a helical head. It has lots of windows and plenty of overhead light. The fact that it will be just a few paces from my house will shorten the commute considerably. But until then, I’m going to take advantage of what my makerspace has to offer. Here I can get a hands-on demonstration of how to change planer blades. I can talk about the latest issue of Fine Woodworking. I can get inspiration from other members building incredible things. I can share in the sense of community and give back to the community that helped get me started. Also there’s snacks. Oh, how I’ll miss the snacks.

Venture

I’ve decided to become a furniture maker. My goal isn’t to be a businessman, but a craftsman. People will ask me personally to make furniture for them. Most of us dream about quitting our day jobs and doing something we’re passionate about for a living. This is a foolish thing to do quickly. To leave your job tomorrow and pronounce yourself say, a chef, only works for people who have worked hard to prepare their life for such a moment. So here I am at the preparation stage. I need to get good enough at making furniture that people will pay me for it.

Fine Woodworking #269

In some sense, the decision has already been made for me. As many people who’ve followed my path have discovered, there comes a point in your life where you’ve filled up your house with tables, chairs, cabinets, desks, shelves, boxes, beds, and lamps. Where do you put your next creation? Certainly not on the curb. And while it may make your home warmer as it combusts in the fireplace, surely someone out there could find something better to do with it. It may take me a few years to fill my house with furniture, but the time will come.

This is what makes life worth living

Making things from wood is immensely satisfying. Of course the goal is the finished piece, but it’s just as much about the process. When you’re completely absorbed in what you’re doing and enjoying it, it’s called flow. When you lose sense of time, when you’re so immersed and focused that you realize you’ve forgotten to eat lunch, you’re in that flow state. I spend almost all of my free time in this state and when I’m exhausted, I go home and design more projects to work on. I know that even if I never sell a single piece of furniture that my time will have been well spent.

Table leg

There are problems, though. It’s hard making a living as a furniture craftsman. Many pros will tell you that. People get their furniture from China these days through big box stores. Even if you buy high end furniture, you’re likely getting something that comes out of a factory. For too many furniture craftsman, the reality is that it simply takes too long to singlehandedly make a piece that will sell for a price that will sustain them. So my plan is to start doing this on the side and eventually, having saved enough money, to retire early and supplement my income with the sales of my craft.

I have no idea what I’m doing

This site’s web server

My plan isn’t that different from everyone else who makes this decision. Get on social media. Start a blog. Practice making and designing. Document your progress. Attract attention. So here it is, a WordPress site hosted on a Raspberry Pi. Some woodworkers have found that there’s a more profitable product to make than furniture: videos on how to make furniture. I’m one of the countless woodworkers who have benefitted from such videos. I don’t see myself going down that route, but you never know where a venture like this could take you. That’s just one of many exciting things about making a decision so momentous and rife with possibility.